
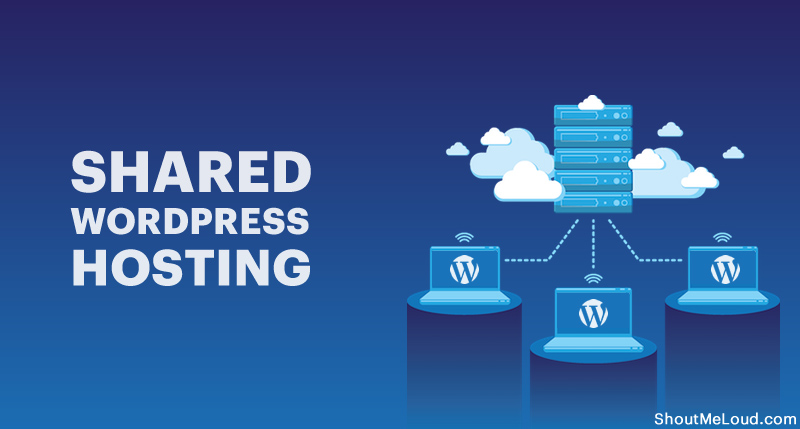
Shared hosting is a simple and economical way of launching a WordPress site, especially if you are new in the business. It is all about keeping the costs down by sharing space and resources with other websites on a single server. It may sound negative, but it’s really not. It allows you to pay a significantly lower shared hosting price every month. Wouldn’t you want to start WordPress web hosting for the same amount of money you would spend on coffee each month?
When to Choose Shared Hosting for WordPress?
Several web hosts offer hosting plans specifically for WordPress sites. However, you can opt for shared hosting for WordPress if:
- You want to explore a different CMS outside of WordPress as a developer
- You are working on a restricted budget and looking for the least expensive option
- You want to start small and slowly upgrade as your website grows (since many web hosts offer plan upgrades)
Look for web hosts and hosting plans that offer WordPress benefits at no or very little additional cost. With an affordable shared hosting price, you will get everything you need to launch your website online.
How to Start Hosting Your WordPress Site
You can easily host your WordPress site if you follow these five simple steps:
Step 1: Sign Up for a Hosting Plan
Once you have found a hosting plan that best suits your website needs and goals, you need to sign up for that plan. For a WordPress site, it is best to choose shared unlimited plans since they offer unlimited bandwidth and speed. Although it’s not truly unlimited, it will still accommodate a good amount of traffic without slowing down your site speed. You can opt for WordPress features at the time of sign up and register a domain (usually included in the shared hosting price).
Step 2: Explore the User Panel
After you purchase a shared hosting plan for WordPress, you will get access to the user panel developed by your host. It will be a dashboard with all things related to your websites, domains, and hosting account. You can buy new installations of WordPress as well if needed.
Step 3: Create Your WordPress Site
Most web hosts offer WordPress site builders. You can quickly select a theme and make the necessary updates and changes. Or, if you have developed your own site, you can easily upload it at this stage.
Step 4: Get an SSL/TLS Certificate
SSL (Secure Sockets Layer) and TLS (Transport Layer Security) are cybersecurity tools that enable secure data transmission online. If you get these certificates from your host, they will appear as a padlock icon in the address bar of the users’ browsers. It will show them that they are using a secure site.
Step 5: Set Up an Email
At the last step, you should set up an email on your domain. Some shared hosting plans offer this feature so that you can communicate with site visitors in a simple and reliable way.
Now, you are all set to launch your WordPress site. If you make use of the features offered by the web hosts, it will make your hosting venture a successful one. Every good web host offers prompt and quality customer support. So, you can always contact them when you have a question or encounter any problems.
